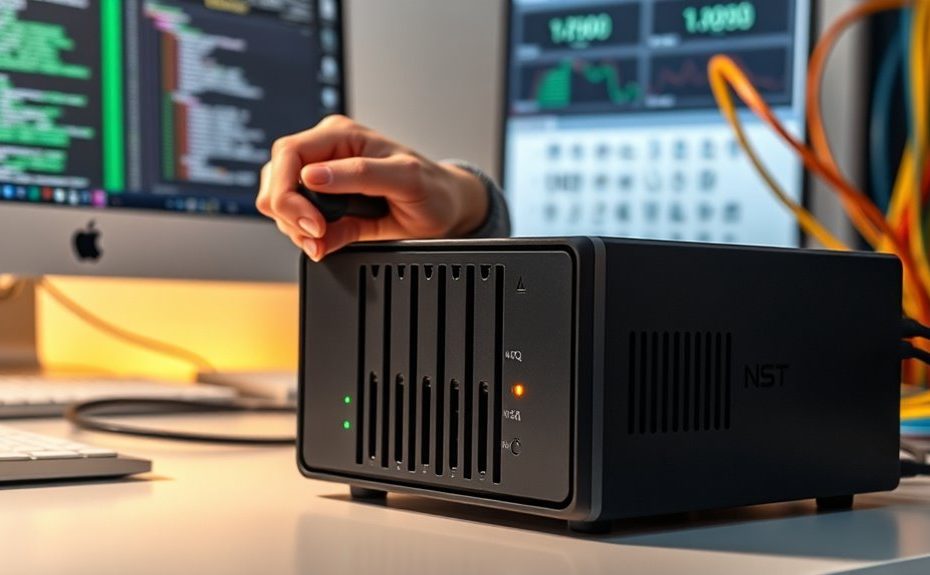
First, verify your NAS is properly connected to your network via Ethernet or Wi-Fi and has a valid IP address. Check your router’s admin panel to confirm the device is connected and receives an IP without conflicts. Enable network discovery on your PC or Mac, and verify firewall isn’t blocking access. Updating your NAS firmware and restarting your devices often solves visibility issues. For detailed steps, you’ll find more helpful tips ahead.
Key Takeaways
Verify NAS network connection and IP address to ensure it’s properly connected and not conflicting with other devices.
Restart the NAS and router to refresh network settings and resolve temporary connectivity issues.
Enable network discovery and set the network as private on Windows or adjust sharing settings on Mac.
Check for firmware updates on the NAS and apply them to fix bugs affecting visibility.
Review firewall and security software to ensure they are not blocking NAS discovery on the network.
If your NAS isn’t showing up on the network, it can be frustrating, but there are straightforward steps to troubleshoot the issue. The first thing you should check is your network configuration. Sometimes, devices get disconnected or misconfigured, preventing your NAS from appearing in your network list. Start by confirming that your NAS is properly connected to your router via Ethernet cable, or if you’re using Wi-Fi, verify that it’s connected to the correct network. Log into your router’s admin panel and verify that the NAS’s IP address is assigned correctly—either via DHCP or a static IP you set manually. If the IP address isn’t showing up or seems inconsistent, renewing your device’s IP lease can help. You can do this through your NAS settings or by restarting your router and NAS to refresh network assignments.
Check your NAS’s network connection, IP address, and router settings to ensure proper visibility on your network.
Next, consider whether your network’s discovery settings are properly configured. On Windows, for example, network discovery needs to be enabled, and your network should be marked as private rather than public, which restricts device visibility. On Mac, ensure that Finder’s sharing preferences are correctly set to allow your device to see networked devices. If you’re using a firewall or security software, verify that it’s not blocking the NAS. Sometimes, firewall rules or security settings can interfere with device discovery, preventing your NAS from appearing in your network list. Ensuring proper network discovery settings can significantly improve visibility.
In addition to network configuration, firmware updates play a vital role in resolving connectivity issues. Check whether your NAS manufacturer has released any firmware updates and apply them if available. Firmware updates often include bug fixes, security patches, and improvements to network compatibility. Outdated firmware can cause your device to drop from the network or not be recognized properly. To update, visit the manufacturer’s support website, download the latest firmware, and follow their instructions for installation. It’s a good idea to perform firmware updates periodically, especially if you notice connectivity problems or if your NAS isn’t appearing as it should.
Finally, after making these adjustments, restart your NAS and router to ensure that changes take effect. Rebooting refreshes network settings and can resolve lingering issues. Once your devices are back online, check whether your NAS appears on the network. If it still doesn’t show up, consider resetting your NAS’s network settings to default and reconfiguring it from scratch. This step can eliminate misconfigurations that might have crept in over time. By carefully reviewing your network configuration and keeping your firmware up-to-date, you can usually resolve visibility issues and confirm your NAS is accessible whenever you need it.
Frequently Asked Questions
Can Firmware Updates Resolve Network Visibility Issues?
Yes, firmware updates can resolve network visibility issues. When you update your NAS, verify compatibility by checking the firmware version against the manufacturer’s recommendations. Follow proper update procedures carefully to avoid problems. Firmware updates often include bug fixes and improvements that enhance network discovery, stability, and performance. Keeping your NAS firmware current helps ensure smooth network operation and reduces the chances of your device not appearing on the network.
How Do I Reset My NAS to Factory Settings?
To reset your NAS to factory settings, locate the reset button on the device, usually a small hole. Press and hold it for about 10-15 seconds until it powers off and restarts. This process restores the NAS to default settings, erasing any custom configurations. Keep in mind, a factory reset helps resolve issues caused by misconfigured settings, but back up your data before proceeding to avoid losing important files.
Is There a Way to Troubleshoot Network Conflicts?
Oh, the irony of network conflicts—your NAS refusing to show up because of IP address conflicts! To troubleshoot, check for duplicate IPs using your router’s device list or network tools. Assign a static IP to your NAS to prevent conflicts. Restart your router and NAS, and make sure no other device has the same IP. These simple steps can solve the most stubborn network conflicts effortlessly.
What Security Settings Might Block NAS Detection?
Security settings like network isolation and port blocking can prevent your NAS from being detected. Check if network isolation is enabled on your router or firewall, which might isolate devices and block communication. Confirm the necessary ports for NAS access, such as 445 or 139, aren’t blocked by your security software or network device. Adjust these settings to allow proper discovery, and then restart your NAS and network equipment.
How Do I Configure Static IP Addresses for My NAS?
To configure static IP addresses for your NAS, access its network settings through the admin interface. Select the static IP configuration option, then enter an IP address outside your DHCP range to avoid conflicts. Set the subnet mask, gateway, and DNS servers as needed. This guarantees network stability by preventing IP conflicts, making your NAS consistently accessible on your network. Save the settings, then restart your device to apply changes.
Conclusion
If your NAS still doesn’t show up on the network, don’t give up. Sometimes, a simple restart or checking your network settings does the trick. Did you know that over 70% of network issues are resolved with basic troubleshooting steps? Staying patient and methodical can save you time and frustration. Remember, keeping your firmware updated and network secure can prevent future problems, ensuring your data stays accessible whenever you need it.