
Our tiny bathroom in our 80s timber cabin is finally getting a makeover. Very modest in scale, the bathroom’s original condition was poorly structured with a dated finish. We set out to update this tired bathroom through a DIY renovation, ditching the all-white satin finish with a colourful, matt look. Go inside our renovation as we share the entire process from design, demo and build…
Even though we wanted to modernise the bathroom, we also wanted to embrace a nostalgic design style to complement the handmade style of our cabin.
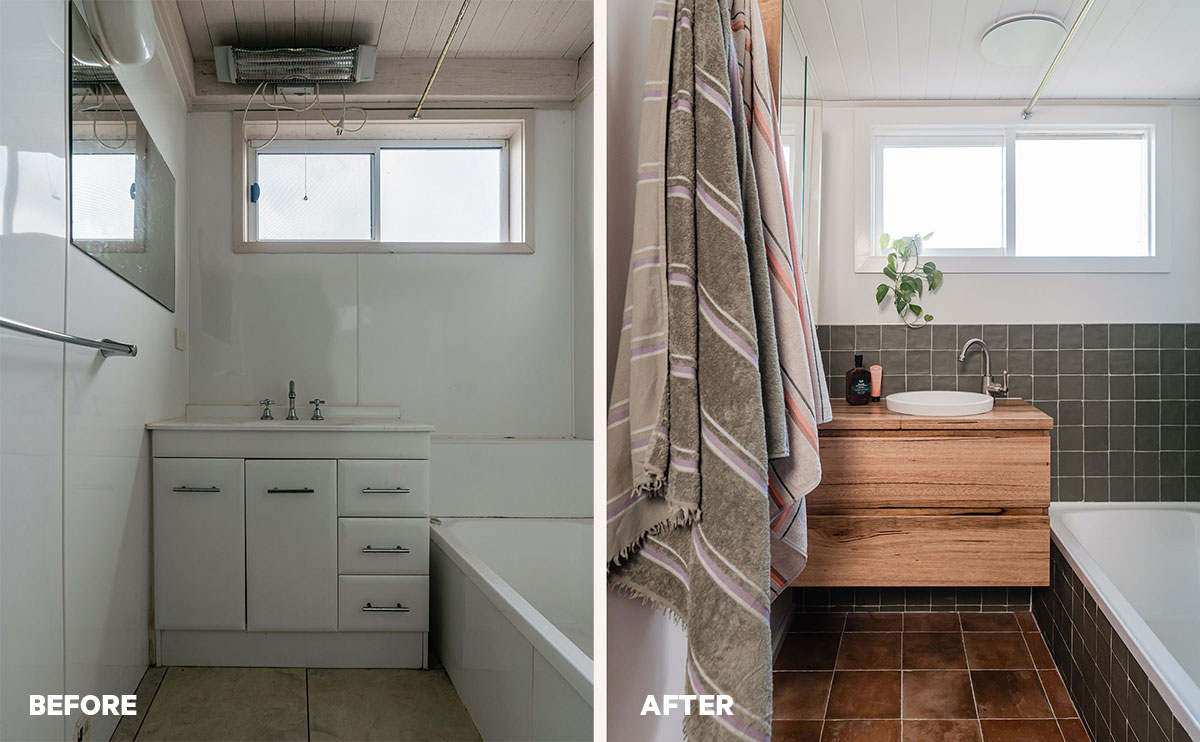
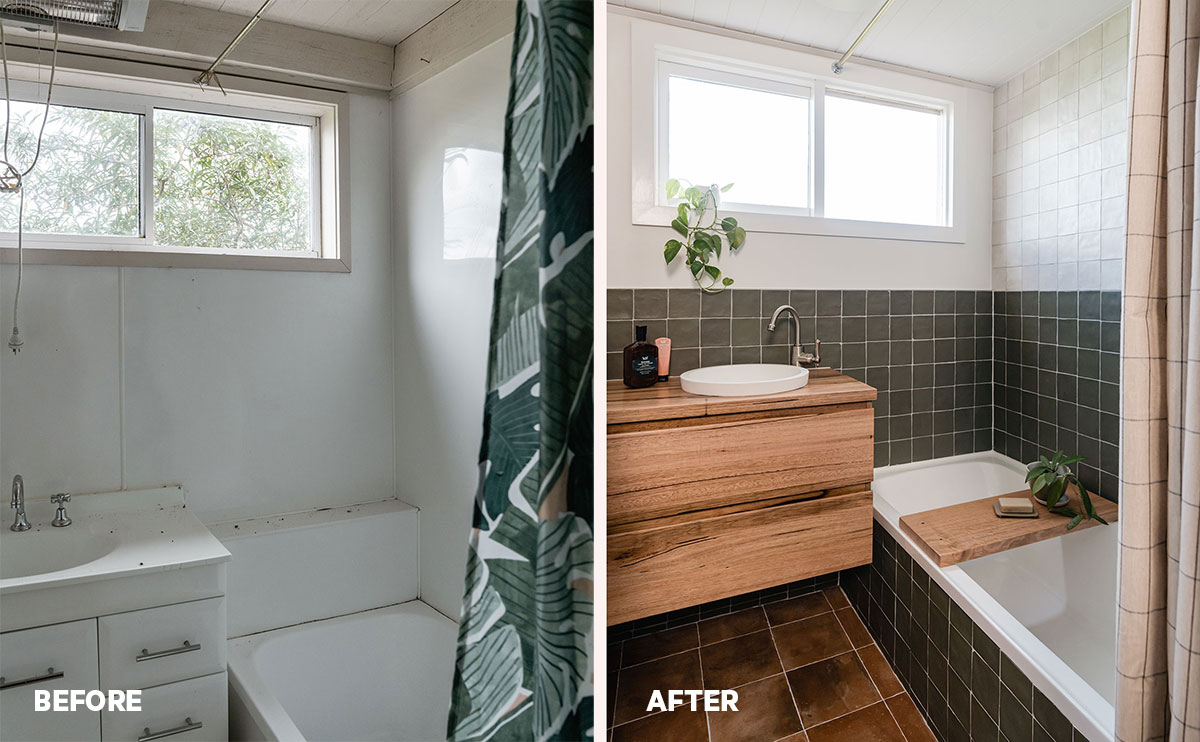
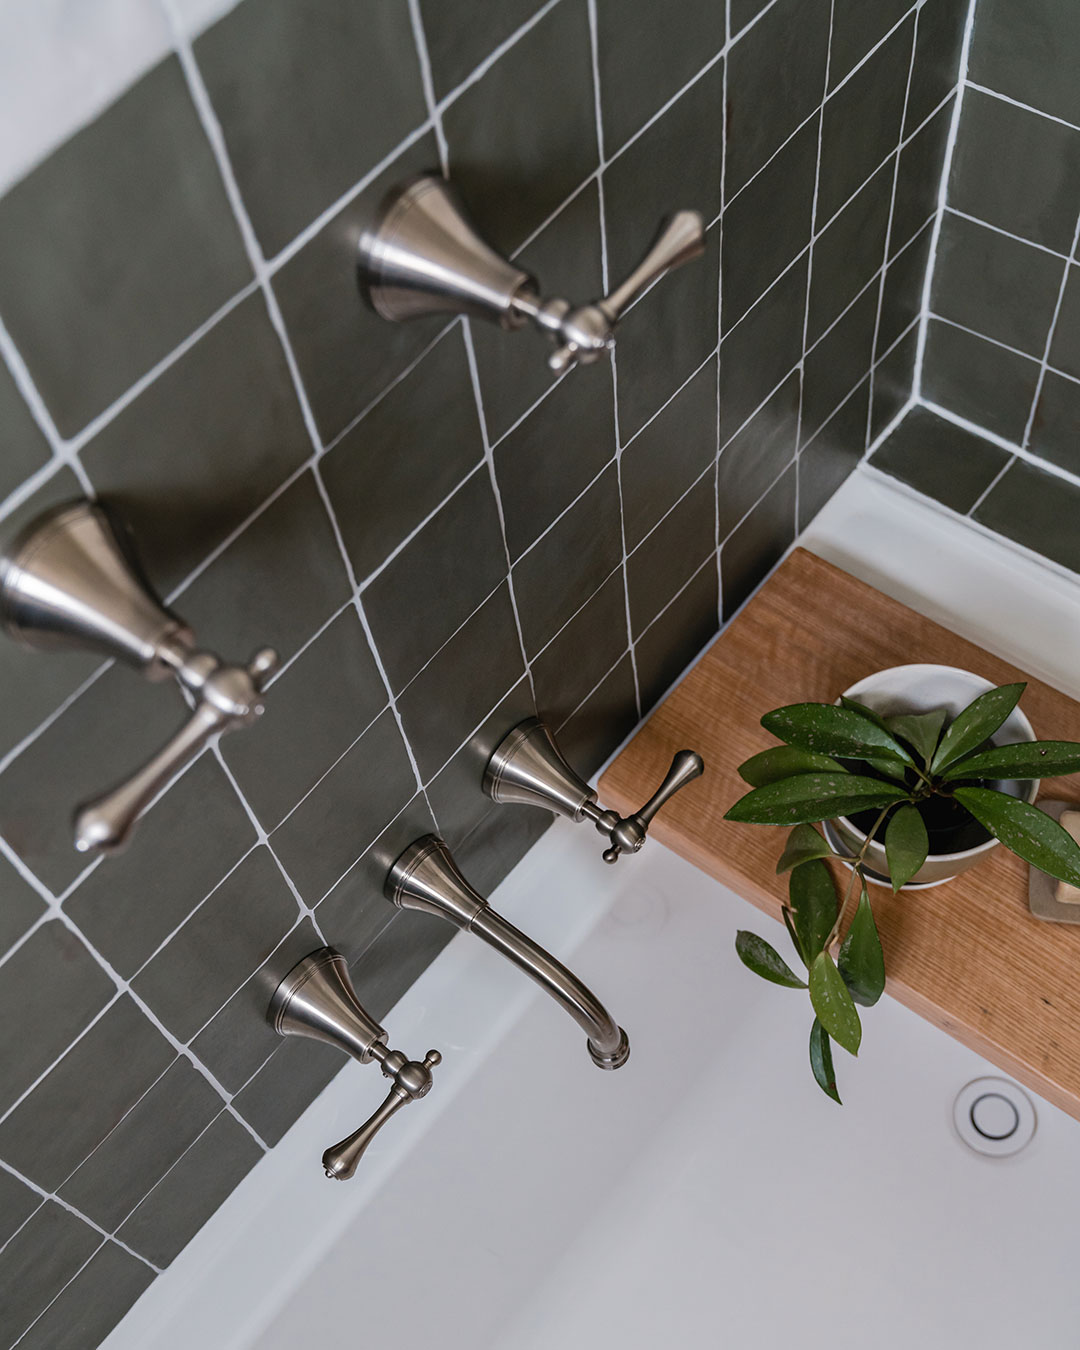
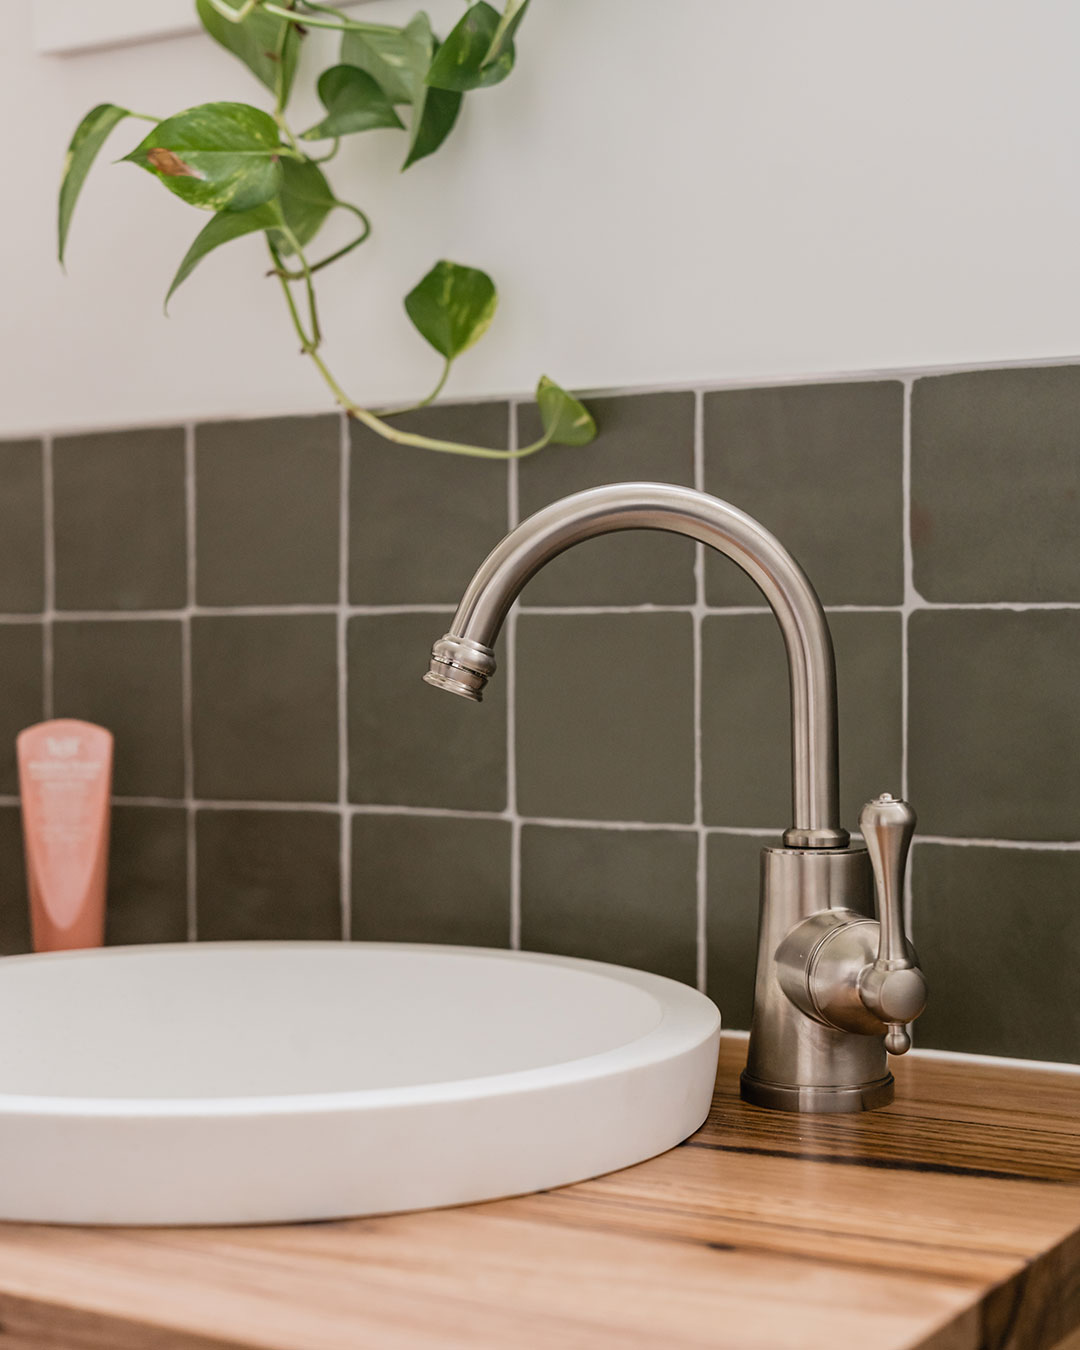
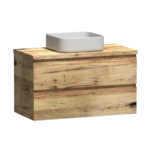
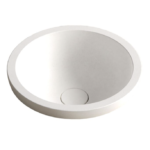
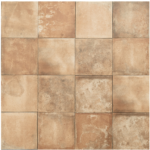
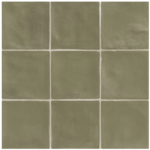
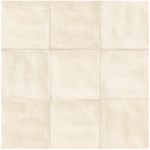
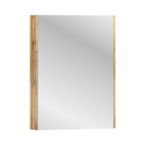
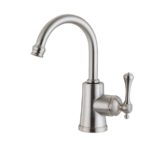
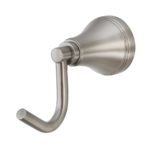
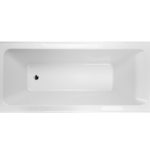
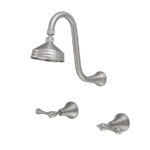
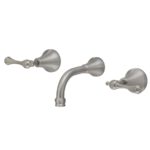
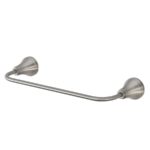
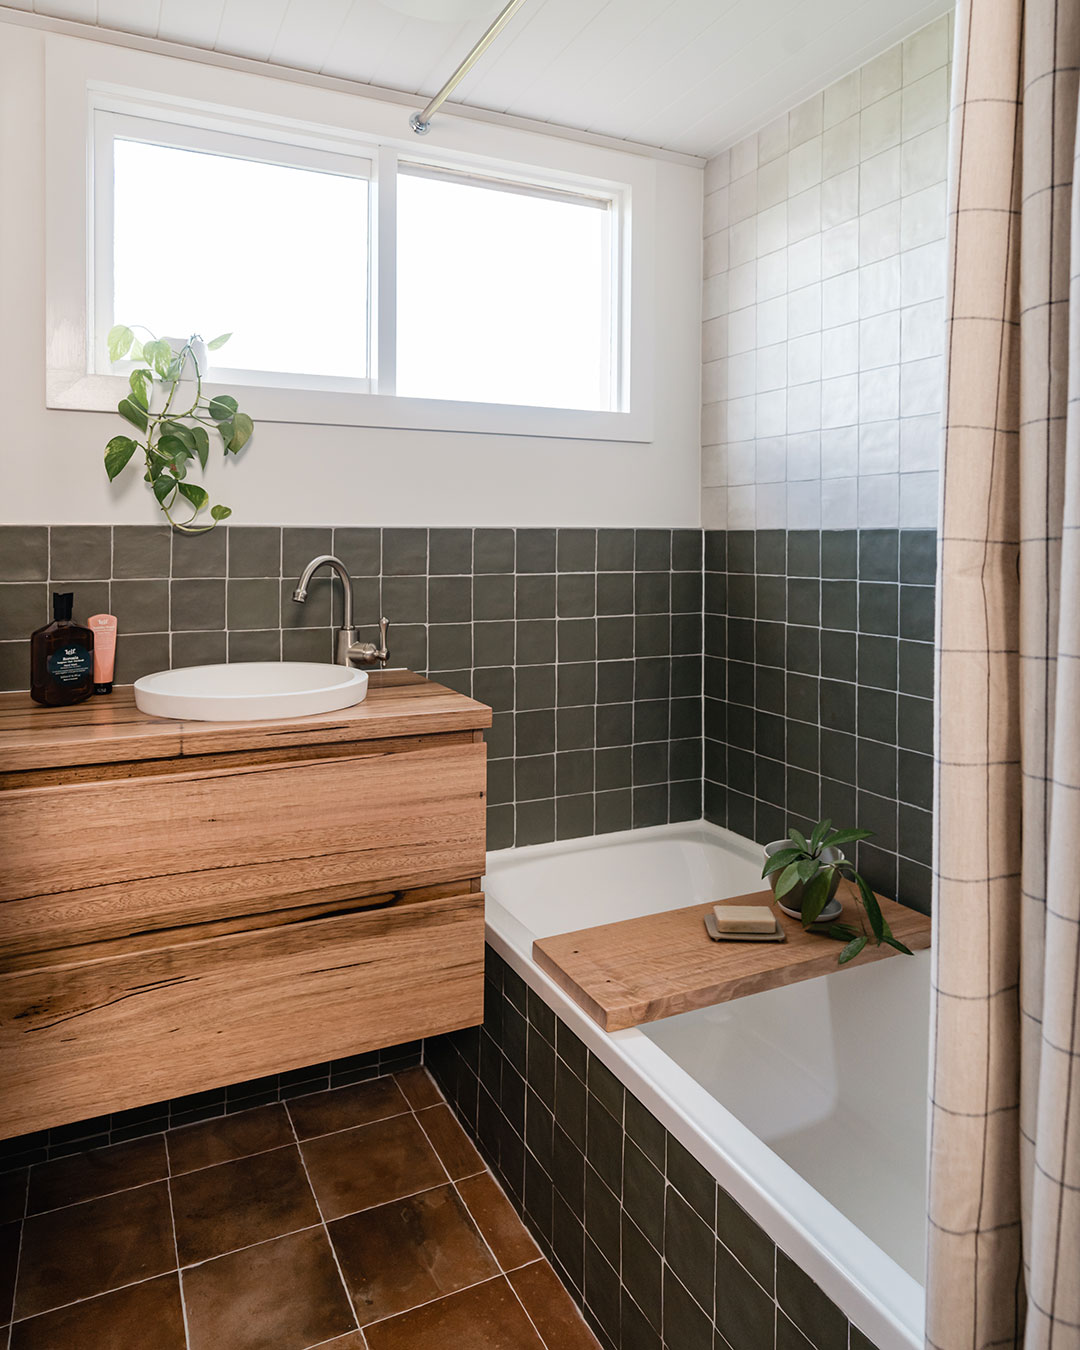
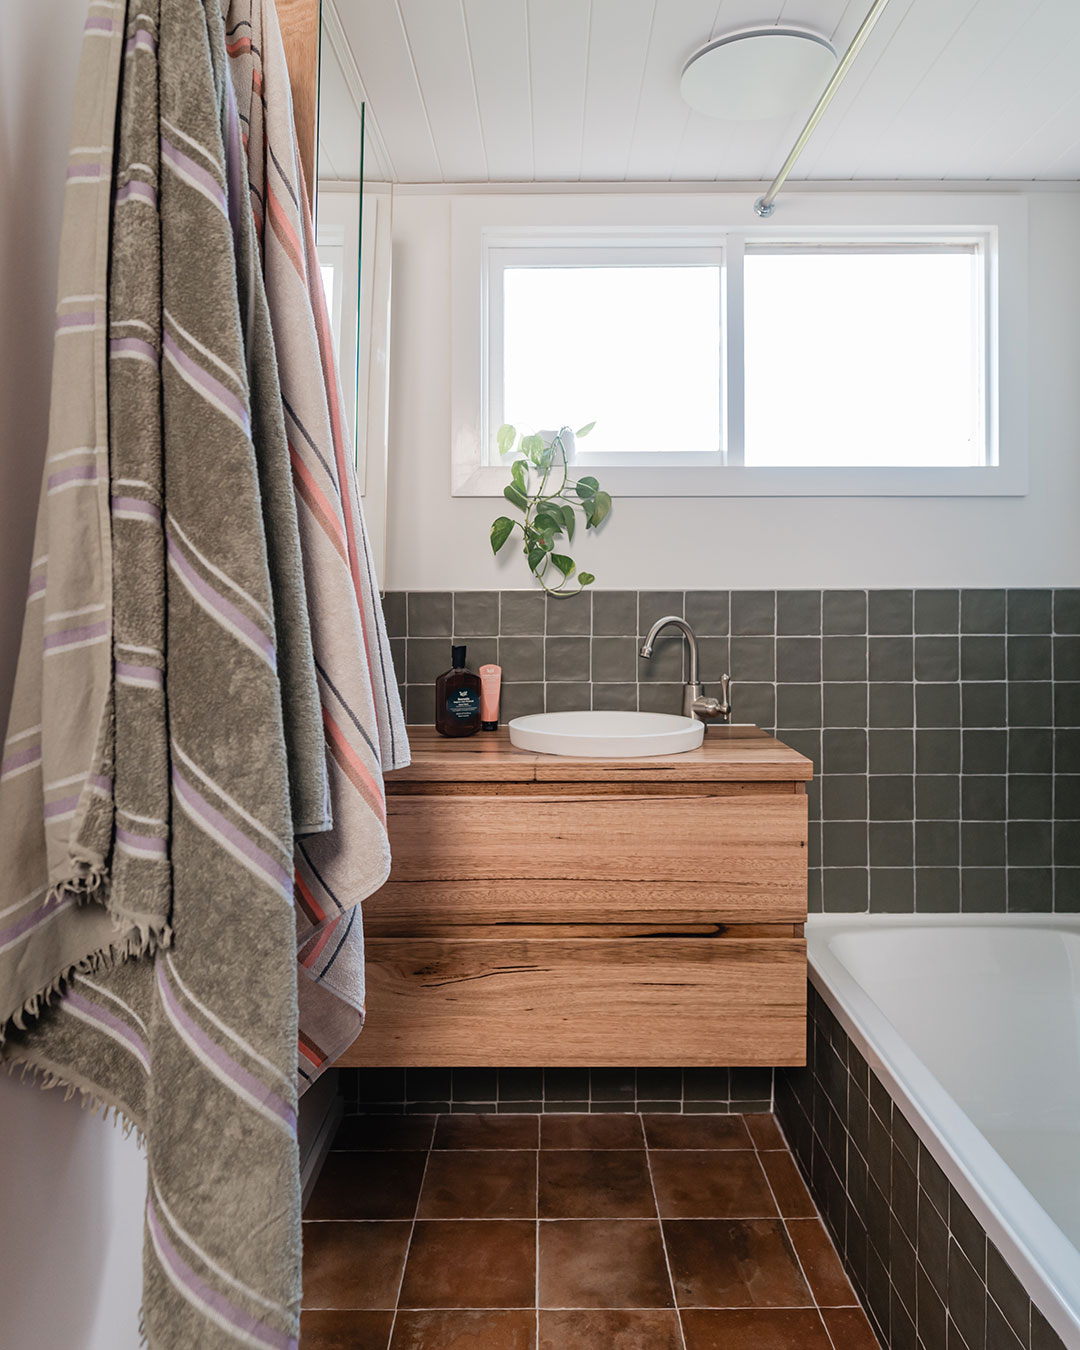
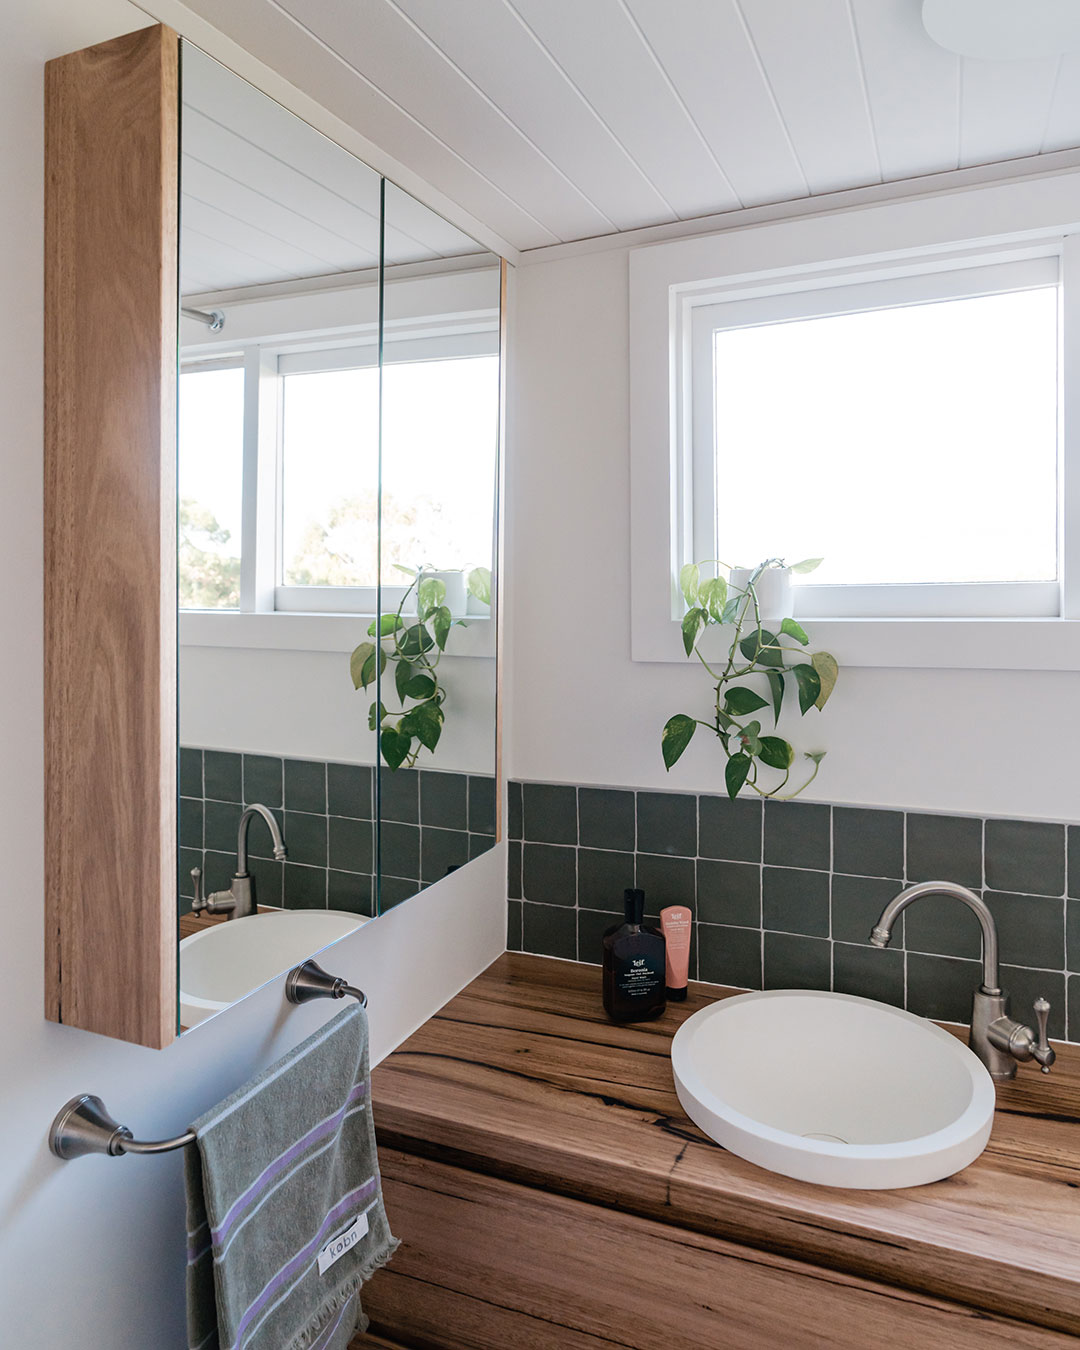
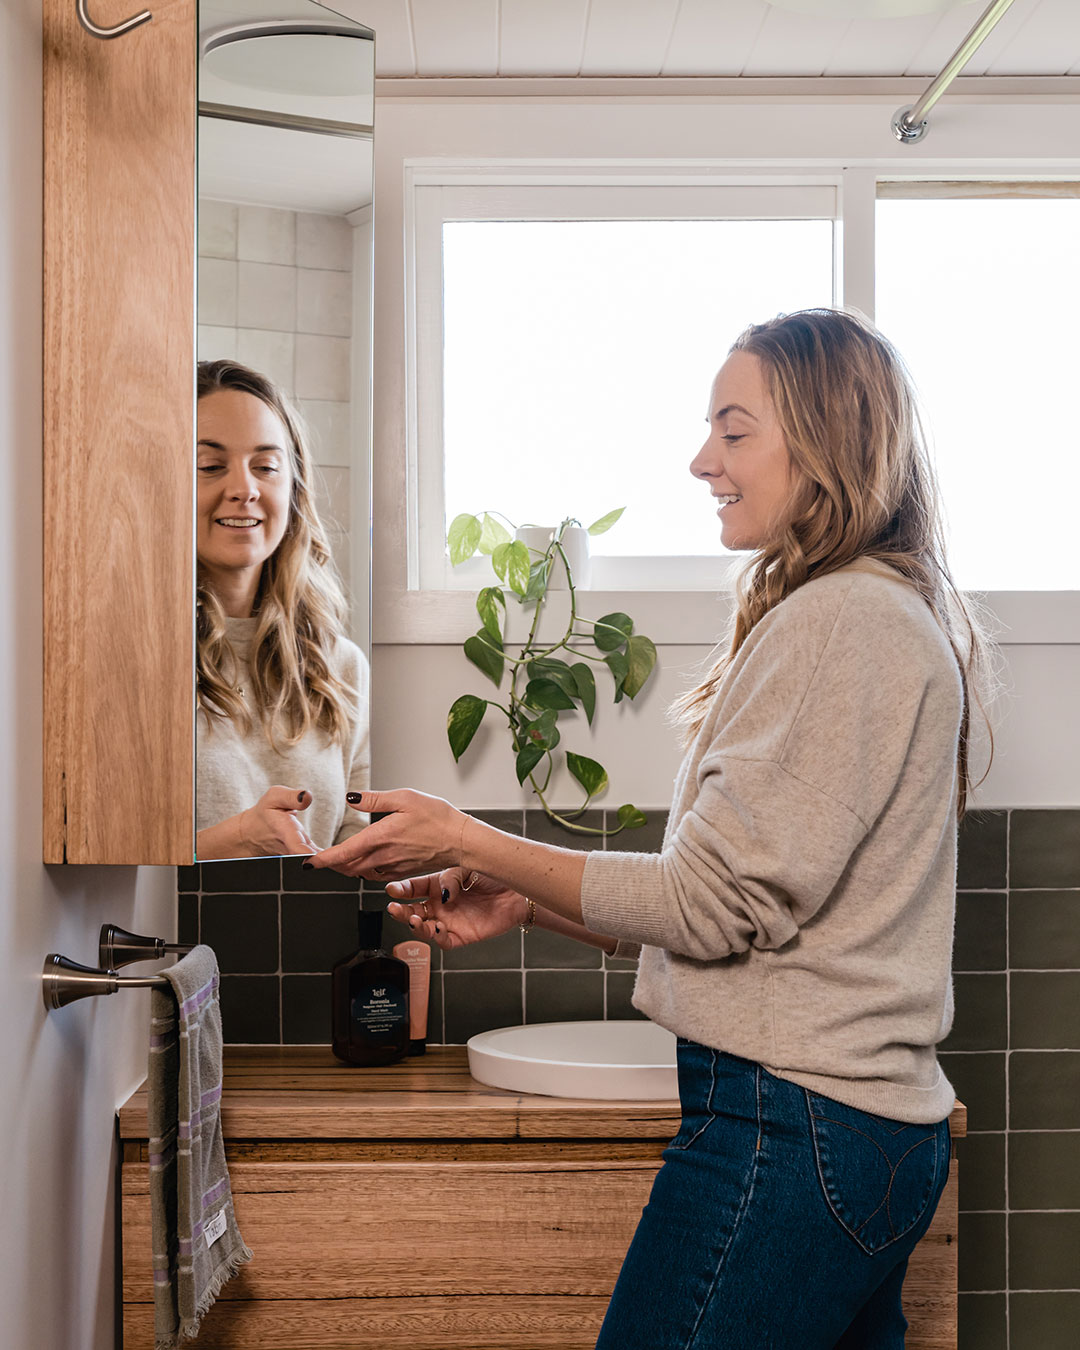
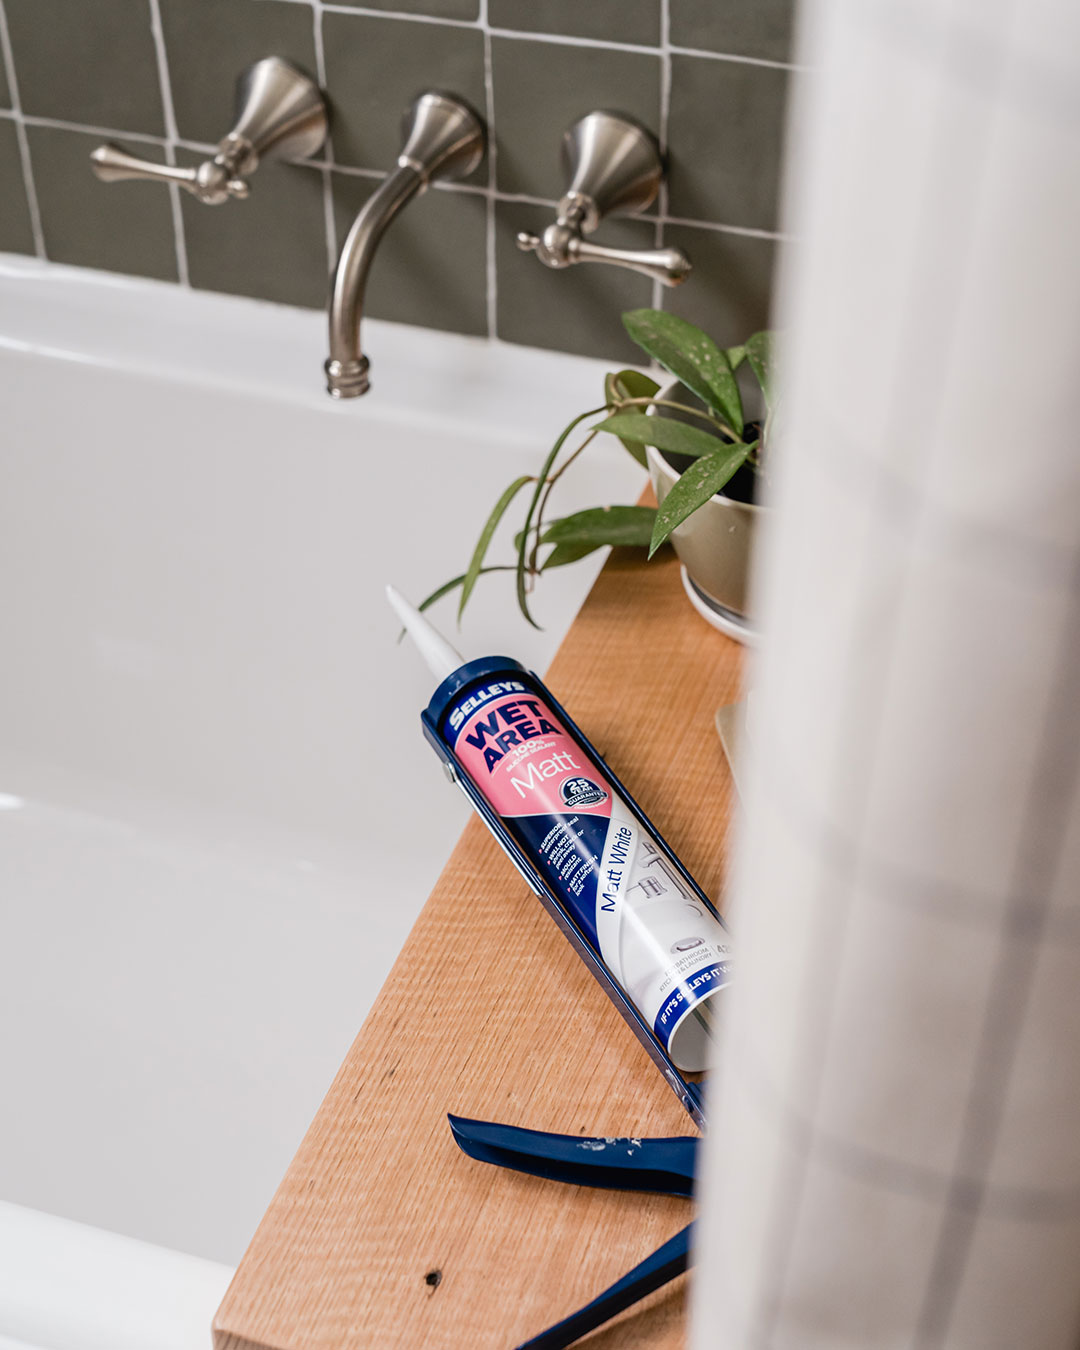
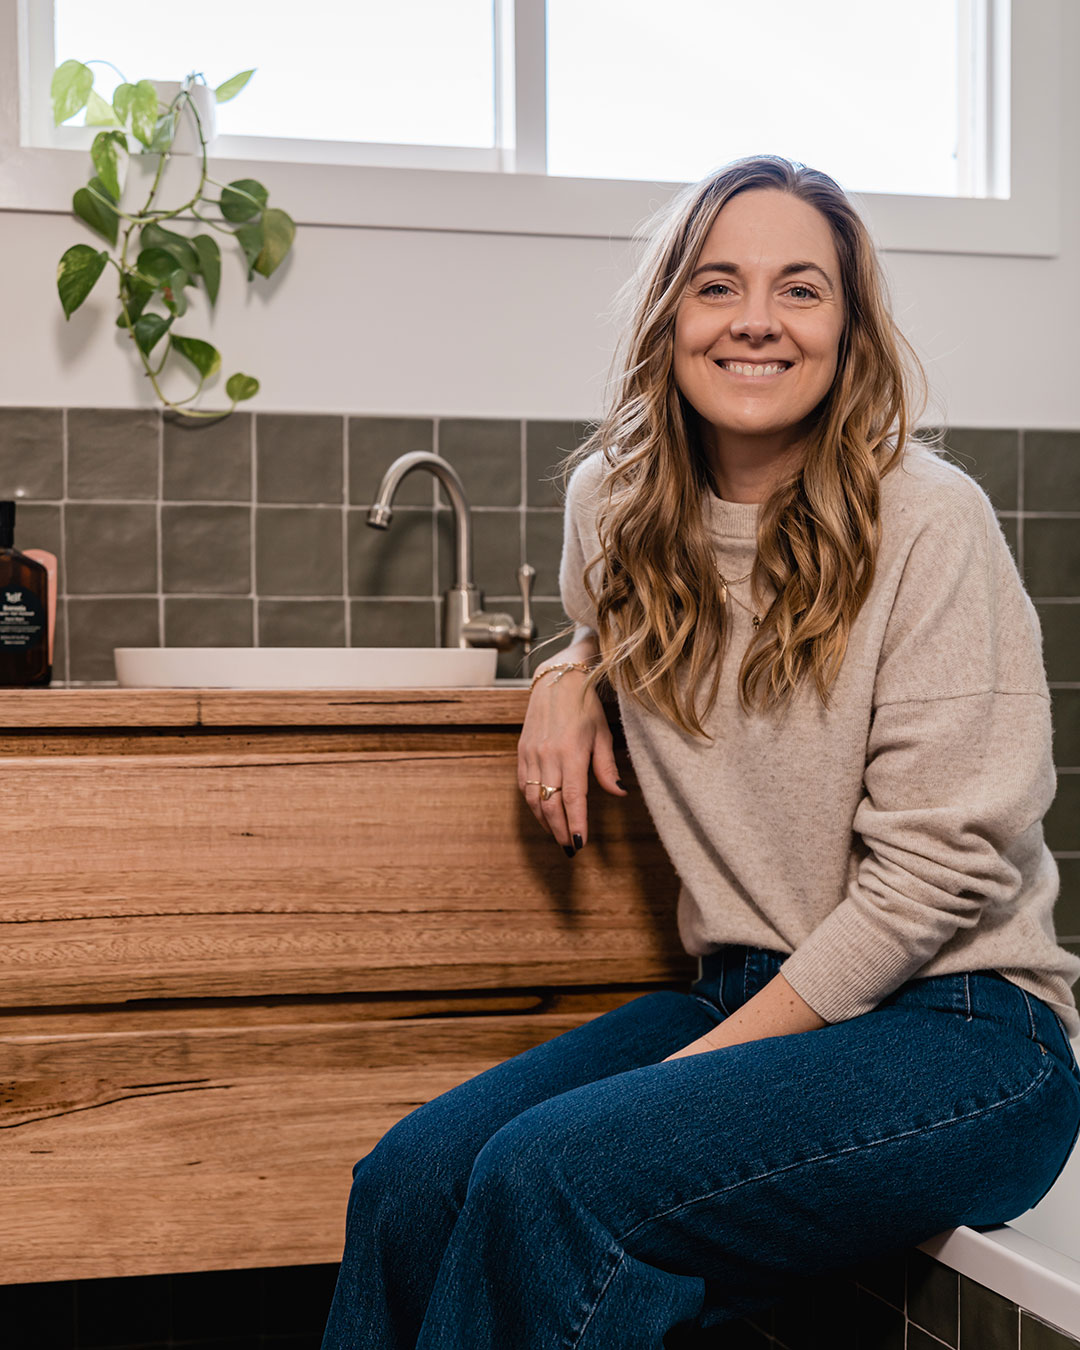
I opted for matt tiles to wrap the bathroom, together with a matt basin and used the Selleys Wet Area Matt White Silicone Sealant to perfectly seal and compliment all of the finishes in the bathroom to deliver a cohesive and premium finish. To add depth, I chose brushed nickel hardware and a timber vanity to lift and elevate the predominantly matt finish. Timber became an important focal element to complement the matt surfaces as it created a sense of grounding within the space. We added timber with the Kado Arc vanity and mirror cabinet, as well as a handmade timber bath tray.

Get the Look

When it came to the budget, overall we spent less than $10,000 in hardware and product and DIY’d the renovation ourselves to keep trade costs down. However, this look could easily be achieved with a $5,000-$6,000 budget by mixing and matching different timbers, tiles or vanity items to meet your budget needs.
Bathroom Styling Tips
- Think of finishes and colours holistically to ensure the colours, tones and textures will thrive in your space.
- Always get product samples to test in the space before committing to purchasing. Matt surfaces do not reflect light the same as satin or gloss finishes, so it’s always a good idea to choose from a physical sample in the natural light of the space.
- When working to a budget for bathroom improvements, opt for small upgrades, like re-doing your silicone, or painting your cabinetry. These are low-cost measures that can create a major impact. You could even look to paint the tiles if you don’t have the budget, time or know-how to re-tile.
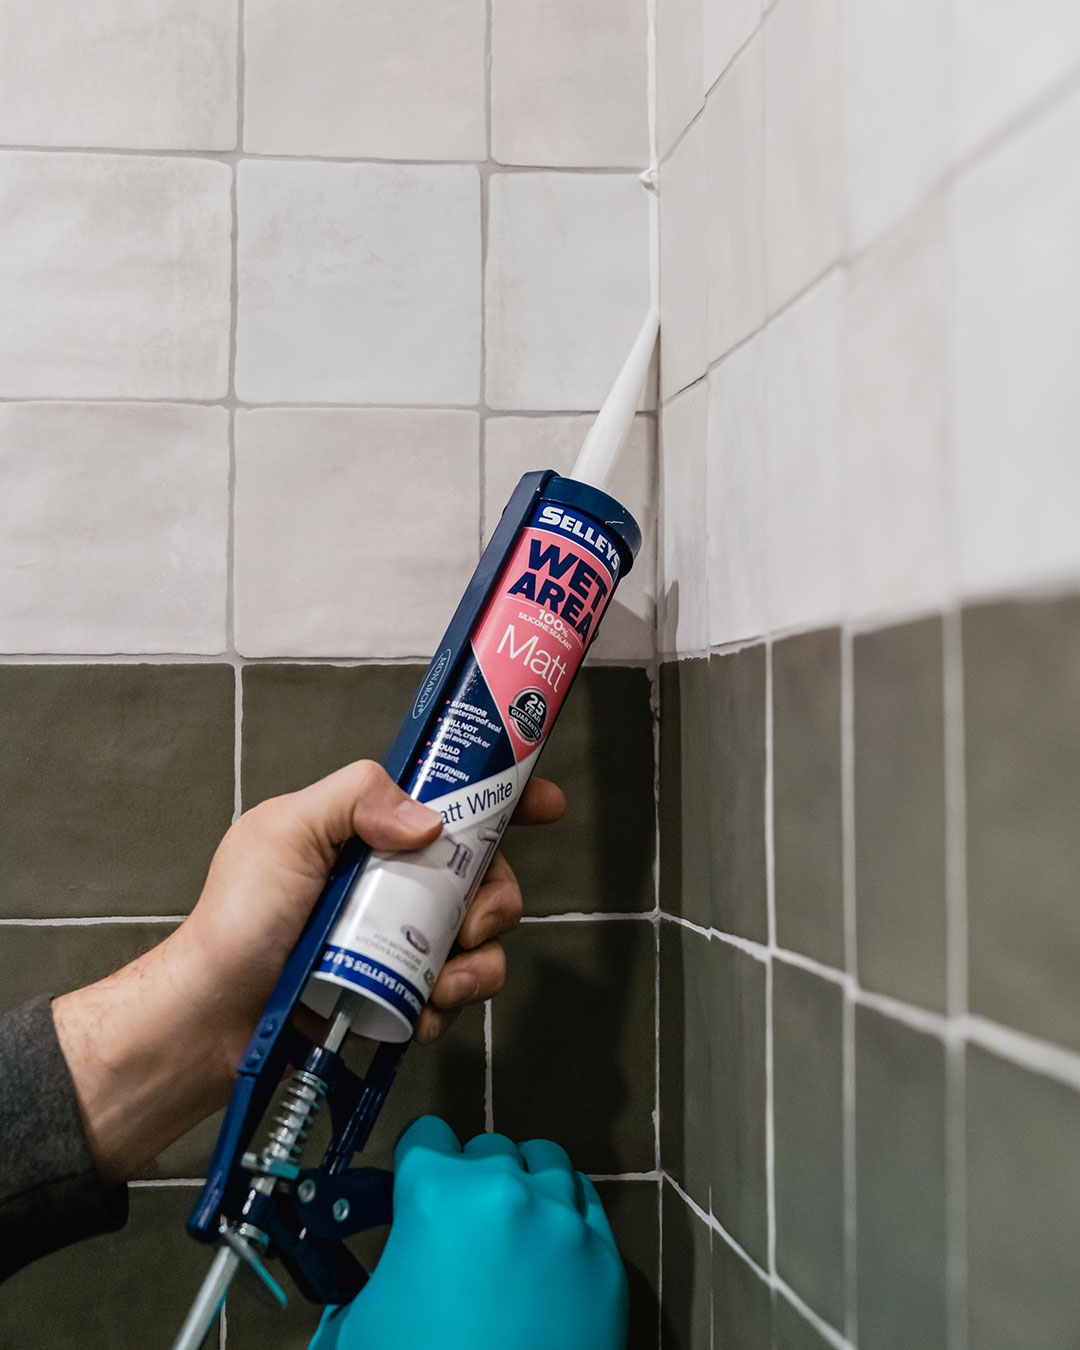
Siliconing Tips
- Practice on an area that is not as critical or less visible first before attempting to silicone a feature basin for example.
- If you’re not confident, you can tape the area either side of the join you are siliconing for a clean line and finish.
- Go slow and don’t apply too much silicone.
- Check out the Selleys website for how-to instructional videos for easy-to-follow demos.
Tiny DIY Bathroom Makeover
Design & Styling: Lucy Glade-Wright
Photography: Jonno Rodd
Location: The Otways, Victoria