Experimenting with AI can be a great way to learn about its capabilities. And yes, it’s also a lot of fun. A few prompts can take you in any direction you want to go – or to places you never expected.
WordPress is the ideal testing ground for AI tools. You can work with code, generate content, or discover new ways to manage your website. It could do wonders for your workflow.
However, you probably don’t want to experiment in a production environment. There’s always a chance that something will go wrong and affect users. It’s not a risk worth taking!
Thankfully, there’s a new option worth getting excited about. The recently released my.WordPress.net installs a copy of the content management system (CMS) directly in your browser. It’s completely private, but can connect with various AI providers. It’s the perfect place to get a feel for what you can do with AI inside WordPress.
Let’s take a quick tour of my.WordPress.net. We’ll install it (super easy), connect it to AI, and start experimenting.
Sample Project: Integrate AI Into a Local WordPress Install
Today’s project is dead simple. First, we’ll install WordPress in our browser. Then, we’ll add our ChatGPT API key to integrate with the AI model. Finally, we’ll run a few test prompts to explore AI-based site management. Oh, and we’re sure to have a few adventures along the way.
Here we go!
Step 1: Install WordPress in Your Browser
We don’t want to spoil any surprises, but you might be amazed at how easy it is to install WordPress in your web browser.
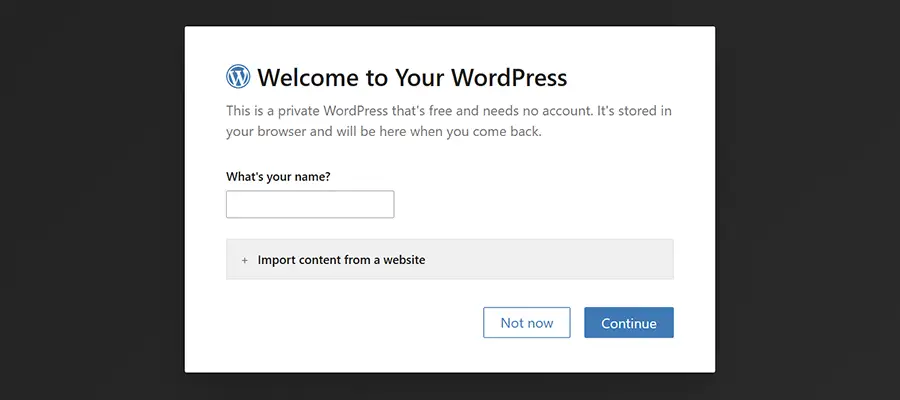
Visit my.WordPress.net.
Enter a name for your website when prompted.
That’s all there is to it! You could optionally import content from another WordPress site. But we’re starting from scratch.
Once installed, you’ll see a welcome screen.
Step 2: Install the AI Assistant App
Those familiar with WordPress might be confused by the use of the term “apps”. After all, the CMS is famous for its plugin ecosystem. Not to worry. This offshoot decided that “apps” was a more user-friendly word for beginners. Consider plugins and apps as interchangeable.
Regardless, our next task is to install the AI Assistant app. Once again, it will be quick and easy.
Click on the Apps menu (an icon with four squares) on the upper right of the screen.
Find “AI Assistant” on the list and click on it.
The AI Assistant will automatically be installed on your local site. You’ll be returned to the welcome screen after it’s finished.
Step 3: Connect With an AI Model
We have everything we need to connect WordPress with an AI model. Now, it’s time to choose a provider.
At the time of this writing, AI Assistant works with Anthropic (Claude), OpenAI (ChatGPT), or a local AI model via Ollama. More providers may be added in the future.
Click on the command menu at the top of the screen (the long bar with a “/” inside) and select Dashboard.
Navigate to Settings > AI Assistant inside the dashboard.
Choose an AI provider and enter your API key.
Choose a model from your AI provider (we used gpt-4o-2024-08-06).
Save the revised settings.
In our case, we grabbed a ChatGPT API key and entered it into the settings. For reference, this method requires purchasing API credits from OpenAI. This is separate from your regular ChatGPT account.
The AI Assistant app also provides some information on what various WordPress user roles can access. You can also choose to add an AI Assistant button on the front-end of your site, which is displayed to logged-in users.
Step 4: Experiment!
The only thing left to do is have some fun with AI inside WordPress. You’ll find the AI Assistant throughout the dashboard and, optionally, the front-end of your website.
Click the AI Assistant button at the top right of the dashboard.
Enter a prompt in the chat window and start working with AI.
Here are a few sample prompts to get you started:
Create the following new pages on my website: About Us, Services, Contact Us
What time zone is my website using?
Activate the Hello Dolly plugin.
ChatGPT handled each of these requests without hassle. However, it did install a second copy of the Hello Dolly plugin. We’ll chalk it up to an early bug.
Note that you may be asked to approve certain actions, like creating pages or installing plugins. It’s a safety measure and is worth reviewing before allowing AI to make changes.
An Easy Way To Try AI Inside WordPress
Perhaps our experiments weren’t earth-shattering, but that’s not the point. The idea is that AI can tell you a lot about your website and perform routine tasks. And my.WordPress.net provides a safe space to learn and play.
Even better, the process for installing WordPress and integrating an AI model couldn’t be easier. You can be up and running within a few minutes. Just note the potential cost of using Anthropic or OpenAI for this purpose. Be sure to check your spending limits so you don’t lose a small fortune.
All told, it’s a great way to discover how AI can help your workflow inside of WordPress. So, take some time and find what works for you!
The post Using my.WordPress.net to Experiment With AI appeared first on Speckyboy Design Magazine.